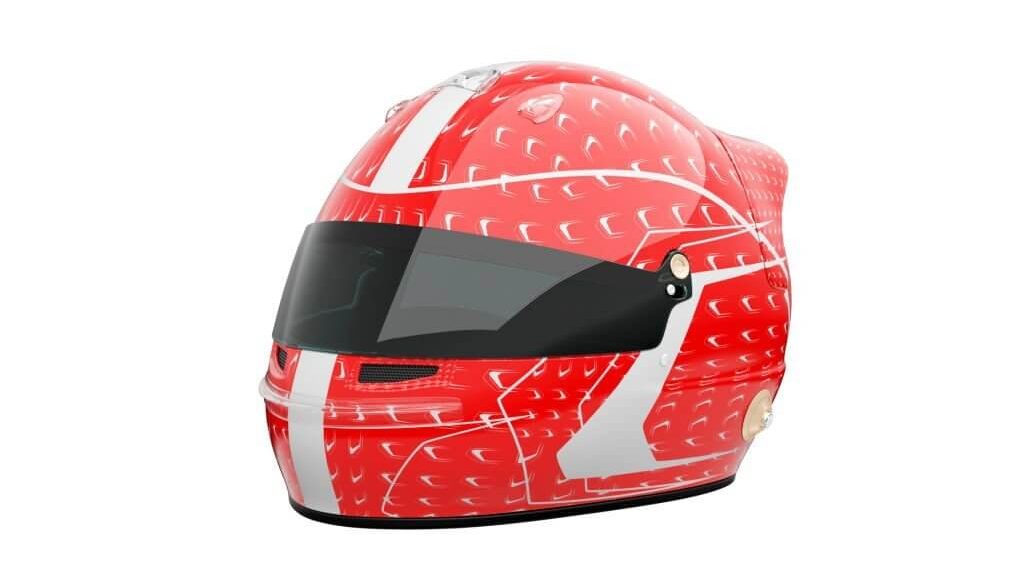
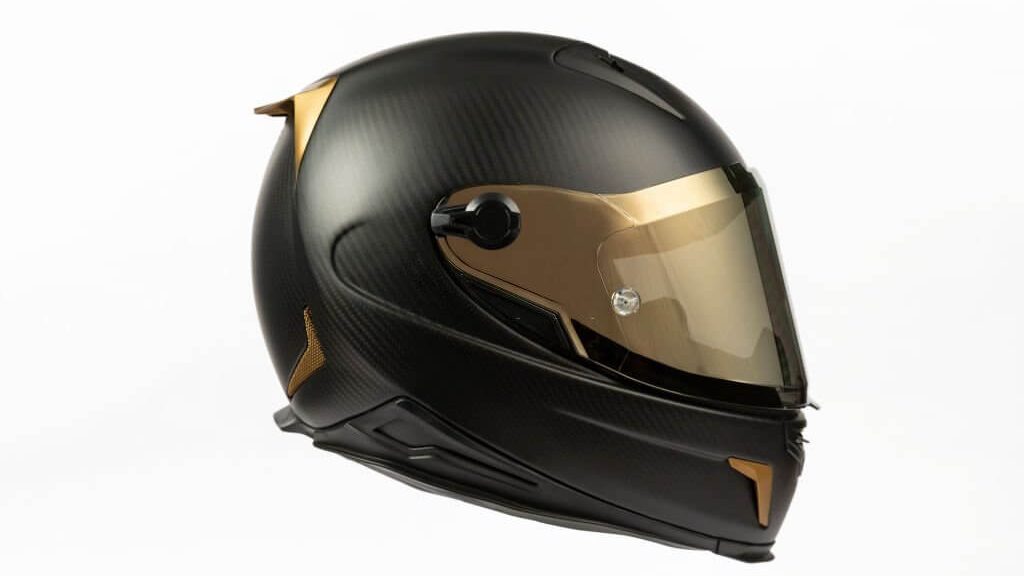
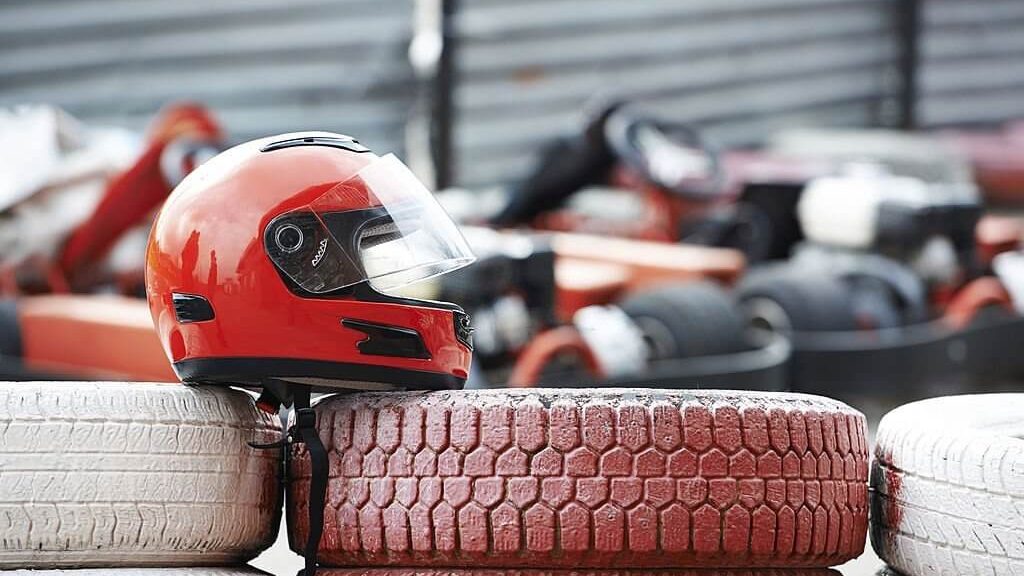
Are you tired of the dull look of your motorcycle helmet? Want to make it stand out from the crowd? Consider customising it with a motorcycle helmet vinyl wrap!
This comprehensive guide will walk you through the benefits of fully wrapping your helmet, popular designs and patterns, and tips for properly installing and maintaining your new helmet wrap.
Whether you are a seasoned rider or a newbie, this guide will provide valuable insights into transforming your helmet into a unique expression of your style.
| Type of Wrap | Pros | Cons |
|---|---|---|
| Vinyl Wrap | Easy to apply and removeWide range of design optionsProtects helmet from scratches and minor dings | Expensive depending on the design and quality May not be as durable as other types of wraps |
| Paint | Achieve a highly customised lookDurable than other types of wraps | Expensive Requires a skilled artist to achieve a professional lookMay be difficult to remove or change |
| Hydro-Dipping | Unique and intricate designDurable than vinyl wrapsUsed on a wide range of materials | Requires specialised equipment and skillsDifficult to remove than vinyl wraps |
| Decals/Stickers | Inexpensive option Easy to apply and removeWide range of designs available | May not be as durable as other types of wrapsLimited design options May not protect your helmet from scratches |
Wrapping a Helmet VS Painting
If you want to add personal style to your motorcycle helmet, you have two main options: painting or helmet vinyl wrap.

While painting allows for more intricate designs and permanent customization, helmet wraps offer an easy and cost-effective alternative.
One of the main benefits of helmet vinyl wrap is its simplicity. With a vinyl wrap, you can quickly and easily add a unique design to your helmet without the time and labour-intensive painting process.
Additionally, if you decide to change the design or return to the original look, it’s as simple as removing the wrap.
Colour change wraps are a popular option for those who want to transform their helmet’s look completely.
With a range of colours and finishes available, you can give your helmet a completely new look without the commitment of permanent painting.
Another benefit of helmet wraps is protecting your helmet’s original finish. Vinyl wraps can help prevent scratches, dings, and other damage to your helmet’s exterior, keeping it looking new for longer.
How Much Does It Cost to Vinyl Wrap a Motorcycle Helmet?
Typically, the cost ranges from $200 to $500, depending on the complexity of the design and the quality of the materials used.
Factors that can affect the price include the size of the helmet, the type of vinyl used, and the intricacy of the design.
Choosing a reputable shop specialising in motorcycle helmet wraps is vital to ensure a high-quality result.
Wrapping a Motorcycle Helmet Yourself
Here’s a step-by-step guide to help you wrap your helmet yourself:
- Gather Supplies: You will need a vinyl wrap material, a squeegee, a heat gun or hair dryer, a utility knife, and rubbing alcohol.
- Clean the Helmet: Thoroughly clean the helmet with rubbing alcohol to remove dirt or residue.
- Measure and Cut the Vinyl: Measure the vinyl wrap material and cut it to the size and shape of your helmet.
- Apply the Vinyl: Start applying the vinyl wrap to your helmet slowly, using the squeegee to remove any air bubbles.
- Heat and Stretch the Vinyl: Use a heat gun or hair dryer to heat and stretch the vinyl around curves and corners.
- Trim the Excess Vinyl: Use a utility knife to trim any excess vinyl.
- Finish Up: Once the vinyl is applied and trimmed, use the heat gun or hair dryer to smooth any wrinkles or bubbles.

What is The Best Vinyl for Helmet Wrap?
When customising your motorcycle helmet with a vinyl wrap, choosing the suitable material for the job is essential. One of the best vinyl options for helmet wraps is Convex vinyl.
Convex vinyl is designed for vehicle wraps, including motorcycle helmet decal wraps. With a thickness of at least 20 mils, Convex vinyl meets the standard thickness that coaches often ask for.
This thickness ensures that the vinyl will adhere adequately to the helmet and provide durable protection.
Tinting Your Visor
Tinting your visor can improve your riding experience, providing a clearer road view while reducing glare and heat.

Here are some tips for tinting your visor:
- Choose the Right Tint: Tints range from clear to dark, with different levels of light transmission. Choose a tint that suits your riding style and preferences.
- Prepare Your Visor: Clean your visor with a microfiber cloth and mild soap before applying the tint. Make sure there are no scratches or debris on the surface.
- Apply the Tint: Cut the tint to fit your visor and apply it carefully, smoothing out any bubbles or wrinkles. Follow the manufacturer’s instructions for the best results.
- Let It Dry: Allow the tint to dry completely before using your helmet. This can take anywhere from a few hours to a full day, depending on the type of tint and the weather conditions.
- Maintain Your Visor: To keep your tinted visor in top condition, clean it regularly with a microfiber cloth and mild soap. Avoid harsh chemicals or abrasive materials that could scratch or damage the tint.
Are Tinted Helmets Illegal?
Are you considering tinting your motorcycle helmet? It’s important to know that tinted helmets can be illegal under certain circumstances.
It is an offence under Section 18 of the Road Traffic Act 1988 to use a helmet with a visor that does not meet the required standards.
If the tint is too dark, it can obstruct your vision and make it difficult to see clearly while riding. However, you can still customise your helmet with vinyl wrapping.
Vinyl-wrapping helmets allow for a unique design without compromising safety. So, consider vinyl wrapping your helmet instead of tinting it.
Motorcycle Helmet Wrap Kits

Here are some key things to know about helmet wrap kits:
- A helmet wrap kit is a set of vinyl decals that can be applied to the exterior of your helmet to create a customised look.
- These kits come in various colours and designs, so you can find one that fits your style.
- Installing a helmet wrap kit is a simple DIY process that can be completed in just a few hours.
- Most kits are made from high-quality vinyl that is weather-resistant and durable, so your helmet will still be protected from the elements.
- Customising your helmet with a wrap kit is a cost-effective way to achieve a unique look without buying a new helmet.
Does painting a motorcycle helmet damage it?
It’s important to note that manufacturers generally do not recommend painting a helmet. The paint’s solvents can damage some helmets’ ABS material, especially older ones, without a clear coat to protect it.
As an alternative, consider exploring the many helmet wrap designs available. These wraps offer a customizable option without the risk of damaging your helmet.
Motorcycle Helmet Wraps FAQs
A motorcycle helmet wrap can last for several years with proper maintenance and care. The lifespan of the wrap depends on factors such as the quality of the vinyl, the frequency of use, and the conditions it’s exposed to.
To avoid air bubbles during installation, ensure that the surface is clean and free of debris, apply the vinyl slowly and steadily, and use a squeegee or similar tool to smooth out any air pockets as you go.
Vinyl wraps are relatively resistant to scratches and other forms of damage. However, they are not indestructible, and rough handling or exposure to harsh conditions can cause scratches or other types of damage.
Yes, a crash helmet can be wrapped, but it’s important to ensure that the vinyl doesn’t interfere with the helmet’s structural integrity or safety features.
Wrapping Up!
Customising your motorcycle helmet with a graphic wrap is a fantastic way to express your style and personality while enhancing your safety on the road.
Following the steps outlined in this comprehensive guide, you can easily create a unique helmet design that perfectly suits your taste.
From choosing the right graphic design to preparing and installing the wrap, we have covered all the essential aspects of customising your helmet.
We hope this guide has inspired you to get creative and add a personalised touch to your riding gear.


Comments are closed.